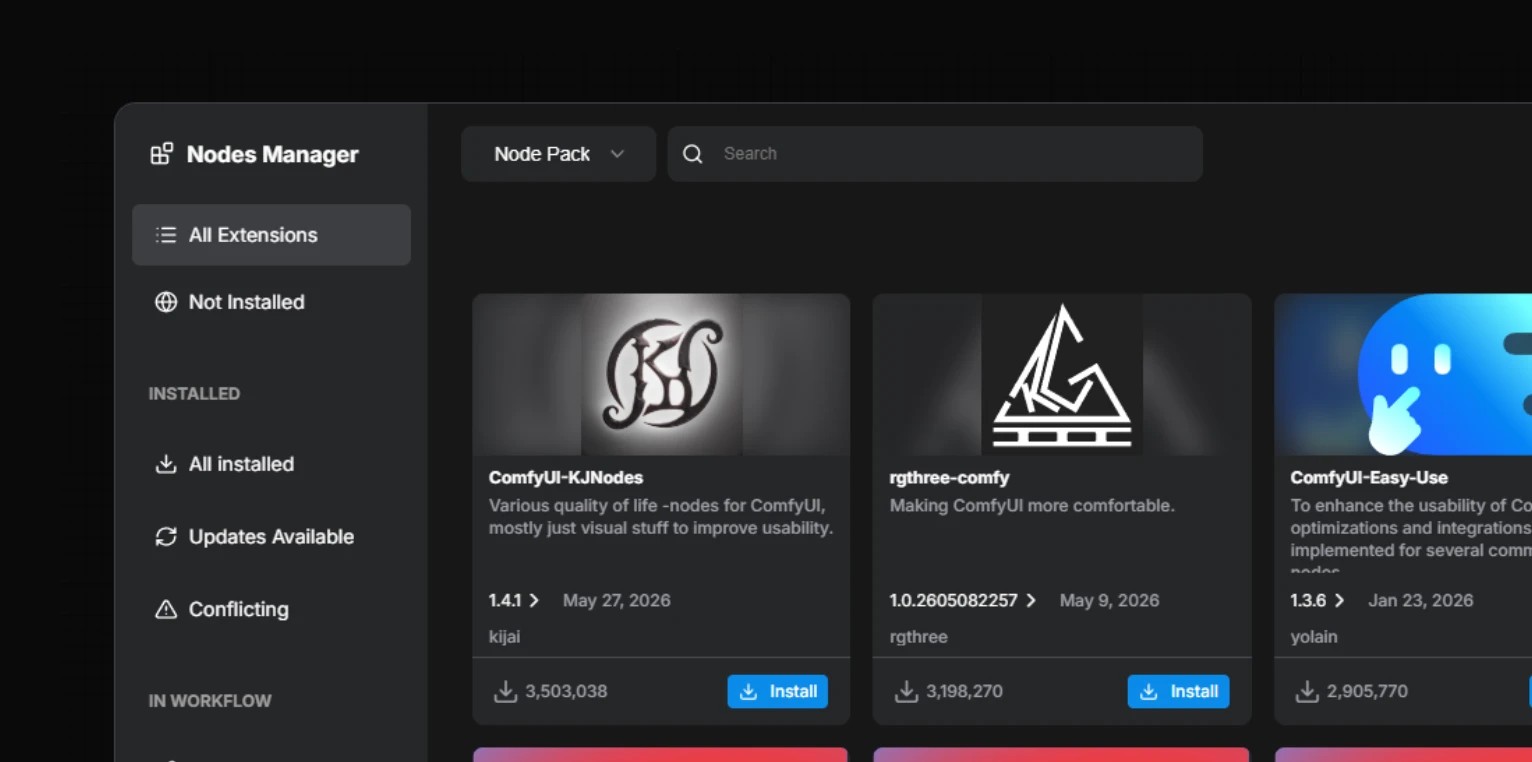
What is ComfyUI Manager?
ComfyUI Manager is a tool developed by ltdrdata for managing custom node installation, updates, and related tasks in one place.
It became so common in many setups that it was almost treated like a default feature. As ComfyUI development moved under Comfy.Org, Manager has now also been incorporated as an official feature.
New and Legacy Manager
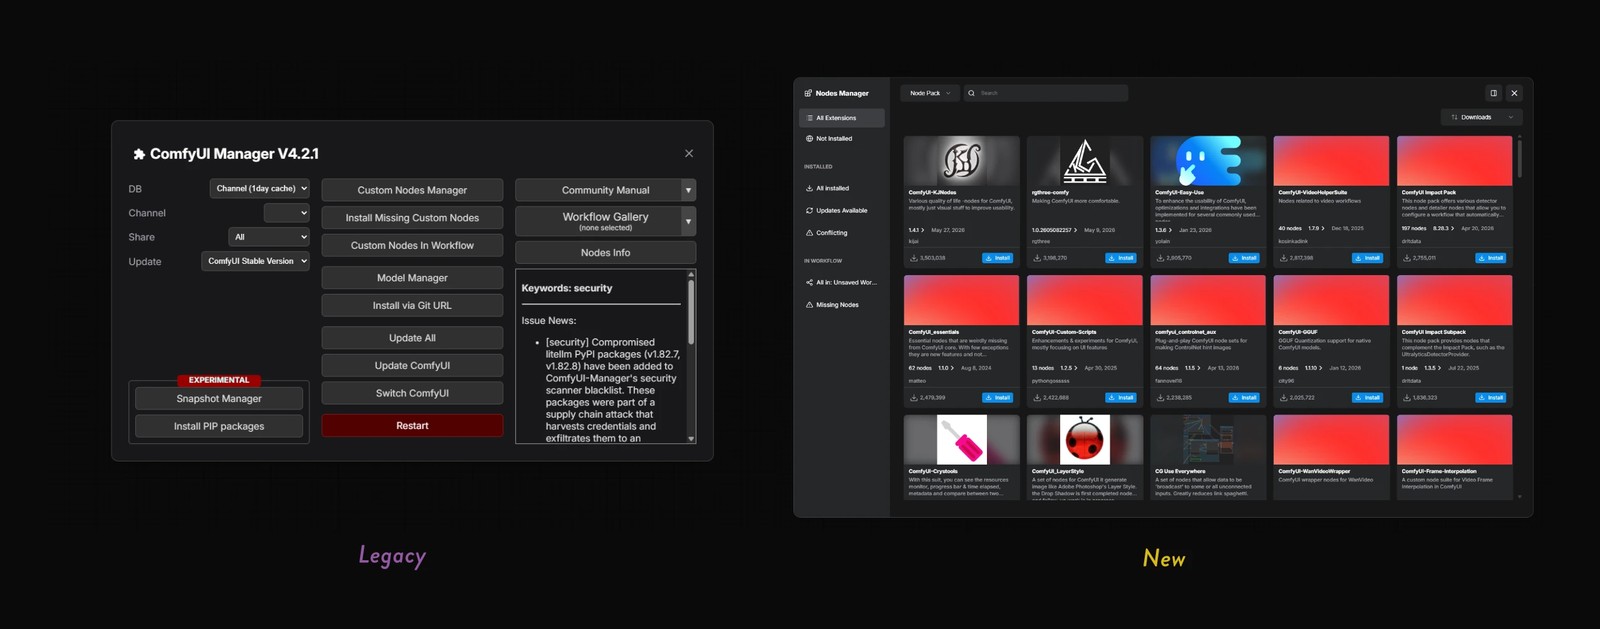
Confusingly, the current ComfyUI Manager has two versions: the new Manager and the older Manager, also called the legacy UI.
The new Manager has a cleaner UI and focuses on custom node management. On the other hand, convenient features that existed in the legacy version, such as restarting ComfyUI itself, updating ComfyUI, and downloading models, have been removed.
Considering Comfy.Org's direction, the new Manager should be the recommended one, but many people may continue using the legacy version.
Installation and Enabling
Manager does not appear just because it is installed.
You also need to add a command line argument when launching ComfyUI.
Desktop Version
If you use ComfyUI Desktop, ComfyUI Manager is already included.
No additional installation is required.
Portable Version
-
Open the
ComfyUI_windows_portablefolder. -
Right-click inside the folder and choose
Open in Terminal. -
Run the following command.
.\python_embeded\python.exe -m pip install -r ComfyUI\manager_requirements.txtThis installs the libraries required by ComfyUI Manager.
-
Right-click
run_nvidia_gpu.batand chooseEdit. -
Add
--enable-managerto the end of the line that runsmain.py..\python_embeded\python.exe -s ComfyUI\main.py --windows-standalone-build --enable-manager
ComfyUI Manager will be enabled the next time you launch ComfyUI.
Manual Installation Version
For manual installation, work inside the ComfyUI folder with the virtual environment activated.
-
Activate the virtual environment.
On Windows:
venv\Scripts\activateOn Linux/macOS:
. venv/bin/activate -
Install the libraries required by ComfyUI Manager.
pip install -r manager_requirements.txt -
Add
--enable-managerwhen launching ComfyUI.python main.py --enable-manager
Opening ComfyUI Manager
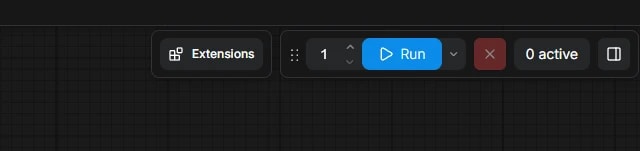
If installation and enabling succeeded, the Extensions button appears in the upper right.
Click it to open the Manager screen.
Launching the Legacy UI
If you want to use the old ComfyUI Manager, add --enable-manager-legacy-ui together with --enable-manager.
For the portable version:
.\python_embeded\python.exe -s ComfyUI\main.py --windows-standalone-build --enable-manager --enable-manager-legacy-ui
For manual installation:
python main.py --enable-manager --enable-manager-legacy-ui
If the new Manager UI is enough, start with --enable-manager only.
If you need features that remain in the legacy version, such as update and model management, enable the legacy UI as needed.
Installing Custom Nodes
Current UI
- Enter the node name in the search bar.
- Click
Install. - Click
Apply Changes, or restart ComfyUI manually.
Legacy UI
- Click
Custom Nodes Manager. - Enter the node name in the search bar.
- Click
Install(usuallylatestis fine for the version). - Click
Restart, or restart ComfyUI manually.
Updating Custom Nodes
Current UI
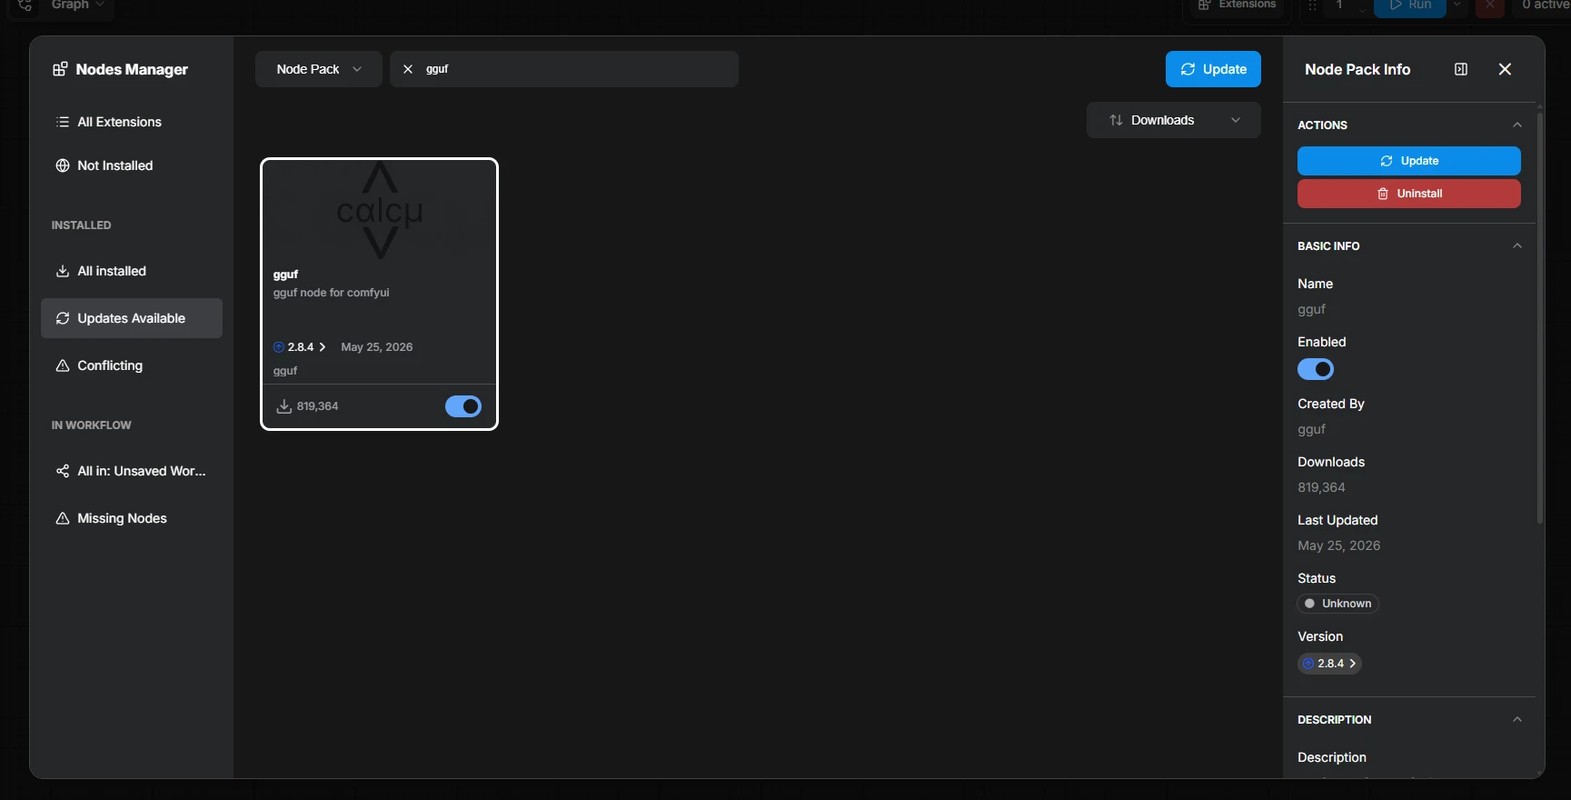
Go to the Updates Available tab.
Nodes that can be updated appear here.
- Use the
Updatebutton in the upper right to update them all at once. - Select a target and use
Updatein the sidebar to update it individually.
Legacy UI
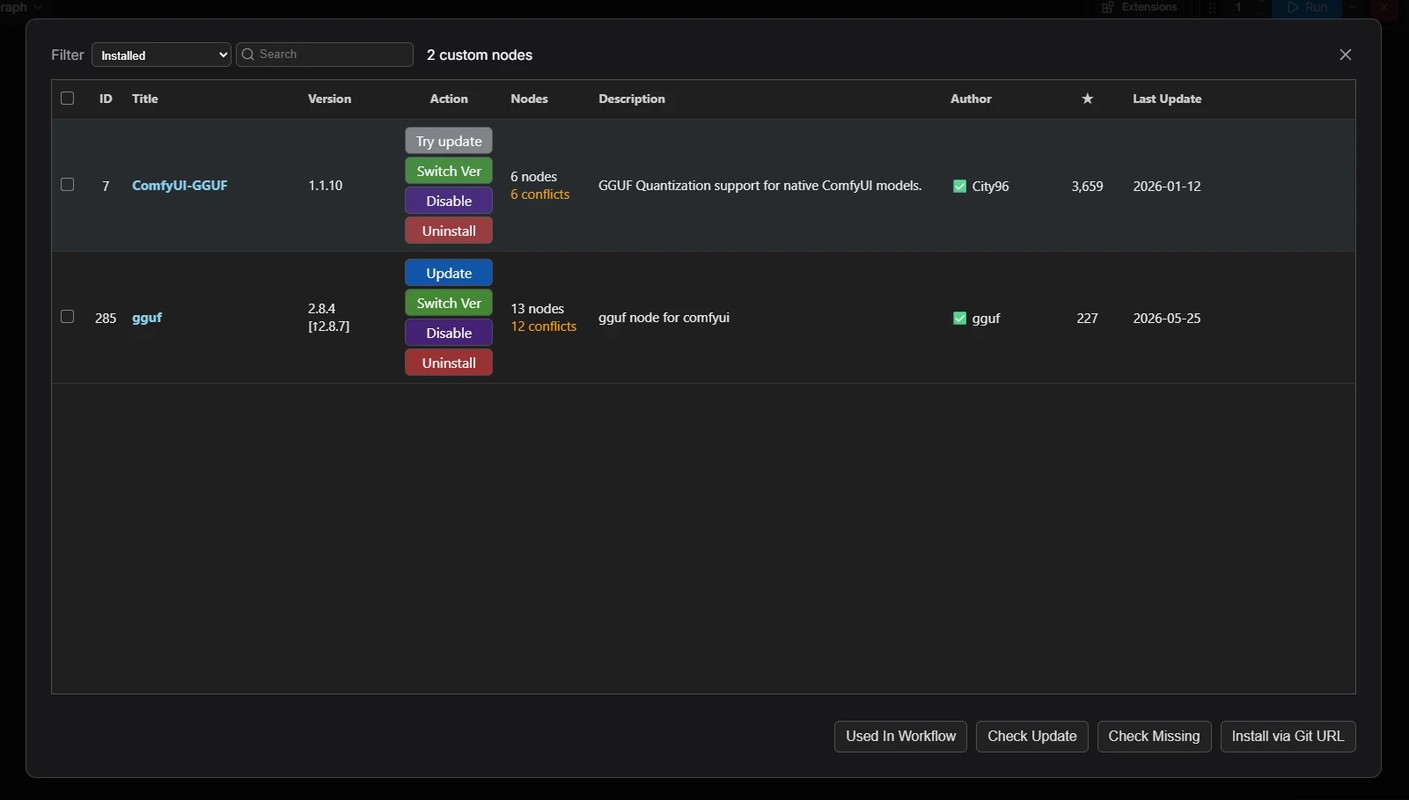
- Click
Custom Nodes Manager. - Set Filter to
Installedto show only installed nodes. - Click
Try Updateon the custom node you want to update.